Twitch: Your Ultimate Guide to Streaming Success
- Introduction: Diving into the World of Twitch
- Getting Started on Twitch: Account and Equipment
- Choosing and Setting Up Your Streaming Software
- Optimizing Your Stream Settings for Quality
- Building Your Audience and Engaging Viewers
- Understanding Twitch Monetization Options
- Conclusion: Embracing Your Twitch Journey
Twitch: Your ultimate guide to streaming success is here to help you navigate the exciting world of live broadcasting. As someone who’s spent countless hours both watching and experimenting with streaming on the platform, I know it can feel a bit overwhelming at first. But don’t worry, we’ll break down everything you need to know, from setting up your account to engaging with your audience and even exploring how to make money from your passion. Let’s dive in and unlock your potential on this dynamic live streaming platform!
Getting Started on Twitch: Account and Equipment
The first step in your journey is creating a Twitch account. It’s a straightforward process – just head over to Twitch.tv and hit “Sign Up”. You’ll need an email address, a username, and a strong password. Once your account is ready, take a moment to set up your profile picture and write a short bio. This is your first impression, so make it count!
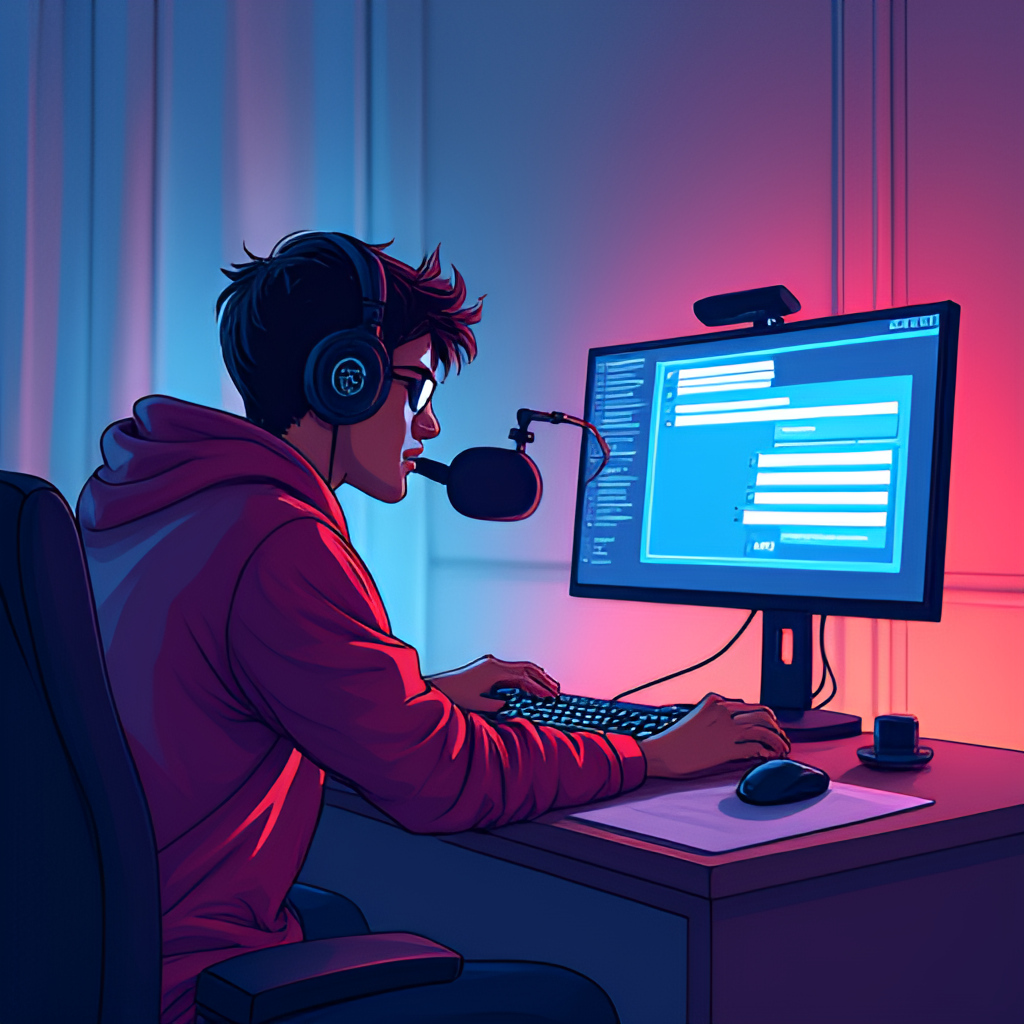
Next, let’s talk gear. You don’t necessarily need a top-of-the-line setup to start. You can even stream directly from a PlayStation or Xbox console, or your smartphone. However, if you’re looking to stream from a PC, you’ll need a computer capable of running your game (if that’s what you’re streaming) and the streaming software simultaneously. A reliable webcam is also highly recommended, ideally one that offers good video quality even in lower light conditions. Don’t forget a quality microphone – clear audio is crucial for engaging your viewers. My personal experience taught me early on that even a decent budget microphone makes a world of difference compared to using a built-in laptop mic.
Beyond the basics, consider investing in good lighting. A ring light or a dual-light setup can significantly improve your video quality and make you look more professional. While it’s true that Twitch doesn’t currently support 4K streaming, focusing on a clear 1080p or 720p resolution with stable frames per second (FPS) is key for a good viewer experience.
This image is a fictional image generated by GlobalTrendHub.
Choosing and Setting Up Your Streaming Software
To get your content from your computer to Twitch, you’ll need broadcasting software. Think of this as the control center for your stream. Two of the most popular and widely recommended options are OBS Studio and Streamlabs Desktop. OBS Studio is a powerful, free, and open-source option that offers extensive customization. It might have a steeper learning curve, but it’s incredibly versatile.
Streamlabs Desktop, built on OBS, is often recommended for beginners due to its user-friendly interface and integrated features like overlays and alerts. There’s also Twitch Studio, Twitch’s own free software designed specifically to help new streamers get started easily.
Once you’ve chosen your software, you’ll need to connect it to your Twitch account. This usually involves finding your stream key in your Twitch settings and pasting it into the software. Then, you’ll set up your sources – this is where you tell the software what to capture, whether it’s your game window, your entire desktop, or a specific application. You’ll also add your webcam and microphone here.
Optimizing Your Stream Settings for Quality
Getting your settings right is crucial for a smooth and watchable stream. The key is finding a balance between visual quality and playback stability for your viewers. This depends heavily on your internet upload speed and your computer’s processing power. Twitch provides recommended bitrate settings based on your chosen resolution and frame rate.
For example, streaming at 1080p and 60 FPS, Twitch recommends a bitrate of 6000 kbps. If your internet can handle it, this will give you a crisp image, especially for fast-paced content. If your internet isn’t quite there, dropping to 720p at 60 FPS with a bitrate of 4500 kbps is a great alternative that still provides a good experience.
Encoding also plays a significant role. If you have a newer NVIDIA graphics card, using NVENC encoding can offload the work from your CPU, resulting in better game performance while streaming. If you don’t have that option, x264 encoding uses your CPU, and you might need to experiment with presets to find what works best for your system.
A good rule of thumb is to have an upload speed that is at least 30% higher than your chosen bitrate to ensure stability. Websites like Speedtest.net can help you check your current internet speed. Don’t be afraid to start with slightly lower settings and gradually increase them as you get more comfortable and understand your system’s capabilities. Remember, a stable stream at a lower resolution is always better than a laggy, high-resolution mess!
Building Your Audience and Engaging Viewers
Simply going live isn’t enough; you need to actively engage with your audience to build a community. Talk to your chat, even if it’s just a few people at first. Ask questions, react to comments, and show your personality. Viewers come to Twitch not just for the content, but for the interaction and connection with the streamer. It’s a two-way street!
Consistency is also vital. Try to stick to a streaming schedule so viewers know when to find you. Promote your streams on social media and other platforms. Consider collaborating with other streamers in your niche. My own growth significantly accelerated when I started raiding other channels and participating in their communities. It’s a great way to get your name out there and connect with like-minded individuals.
Use features like alerts and overlays to make your stream visually appealing and interactive. Streamlabs and other tools offer a variety of customizable options for this. Don’t be afraid to experiment and find what fits your style and content. Provide practical insights and tips related to what you’re streaming, whether it’s gameplay strategies, art techniques, or coding knowledge.
This image is a fictional image generated by GlobalTrendHub.
Understanding Twitch Monetization Options
One of the exciting aspects of streaming on Twitch is the potential to monetize your content. While a huge audience isn’t necessary to start earning, hitting certain milestones unlocks more opportunities. The first step is often becoming a Twitch Affiliate. To qualify, you typically need at least 50 followers, 8 hours streamed in the last 30 days, streaming on 7 different days, and an average of 3 or more concurrent viewers.
As an Affiliate, you can start earning through subscriptions, where viewers pay a monthly fee to support your channel and get perks like custom emotes. You can also earn through “Bits,” a virtual currency viewers can purchase and “cheer” with in chat, and through running ads.
The next tier is becoming a Twitch Partner, which requires a larger and more engaged audience (typically an average of 75 concurrent viewers). Partnership unlocks additional perks like more customization options, priority support, and longer video-on-demand storage.
Interestingly, Twitch announced plans to open up some monetization tools, like subscriptions and Bits, to most streamers from day one at some point in 2025. This could make it easier for new creators to start earning from the get-go.
It’s important to note that earning a significant income on Twitch takes time, effort, and consistency. While ad revenue per view can be relatively low, subscriptions and Bits can become more substantial income sources as your community grows.
Conclusion: Embracing Your Twitch Journey
Twitch offers a fantastic platform for sharing your passions and building a community. From setting up your initial account and equipment to optimizing your stream settings and exploring monetization, there’s a lot to learn, but it’s a rewarding process. My experience on Twitch has shown me that authenticity and consistent engagement are key to connecting with viewers. This guide has provided a comprehensive look at how to stream on Twitch, covering the essential steps and offering insights to help you succeed. So, take the plunge, start streaming, and embrace your journey on Twitch!